Leather Pateern Wallet DIY, Sewing PDF: A Practical Guide to Avoiding Common Pitfalls
Creating a handmade leather wallet is one of the most rewarding projects for hobbyists and small business owners alike. It combines tactile craftsmanship with functional design, resulting in a product that feels personal and durable. However, the gap between a successful project and a frustrating waste of expensive materials often lies in the preparation phase. Specifically, when using digital resources like the Leather Pateern Wallet DIY, Sewing PDF, understanding the nuances of file format, scale, and material application is critical. Many creators rush into cutting without fully grasping how digital patterns translate to physical objects, leading to misaligned holes, incorrect sizing, or damaged tools.
This guide aims to clarify what this specific digital pattern entails, highlight common misunderstandings regarding its use, and provide actionable advice to ensure your first cut is your best cut. Whether you are an experienced leatherworker looking to streamline your workflow or a beginner eager to start your first project, paying attention to these details will save you time, money, and frustration.
Understanding the Digital Nature of the Pattern
The term "PDF" can sometimes be misleading if not interpreted correctly in the context of craft supplies. When you purchase or download the Leather Pateern Wallet DIY, Sewing PDF, you are acquiring a digital blueprint, not a physical template. This distinction is vital because it dictates how you interact with the file before it ever touches your workbench. The file is designed specifically for printing on standard A4 paper at 100% scale. This means the pattern is life-size, but only after you have printed it out correctly.
A frequent mistake beginners make is assuming that digital files can be used directly with automated machinery like laser cutters or CNC routers without conversion. It is important to note that this file is intended for manual construction. The instructions explicitly state that the file is used for printing on paper, not for laser or CNC processing. Attempting to run this PDF through a laser cutter without converting it to vector formats (like SVG or DXF) may result in errors or simply fail to execute the cutting path as intended. For those relying on traditional hand-sewing techniques, however, this print-and-cut approach is efficient and highly accessible.
The Importance of Scale and Accuracy
One of the most overlooked aspects of using any sewing pattern is printer calibration. If your printer settings are set to "Fit to Page" rather than "Actual Size" or "100% Scale," the pattern will be distorted. Even a slight scaling error can compound throughout the project, resulting in a wallet that does not fold correctly or has misaligned punch holes. Before committing to your leather, always check the test square provided in the PDF. Most professional patterns include a small box labeled with a specific measurement (e.g., 1 inch or 2.5 cm). Measure this box after printing; if it is not exact, adjust your printer settings until it is.
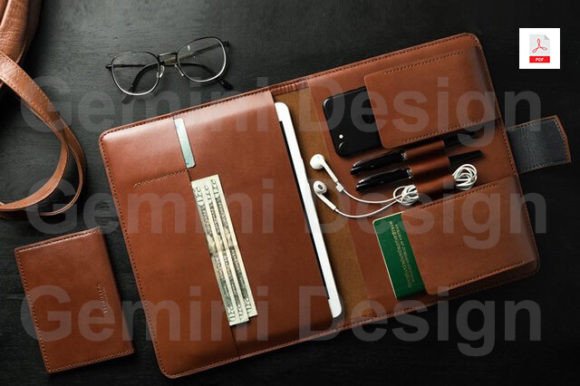
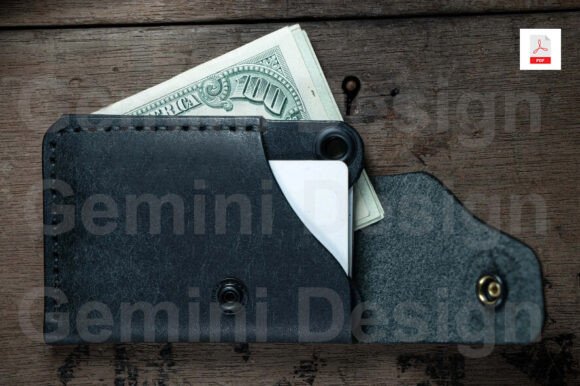
The Leather Pateern Wallet DIY, Sewing PDF specifies that the finished wallet, when folded, measures 12 x 10 cm. This is a compact, card-holder style size. Understanding this dimension helps you select the appropriate thickness of leather. Thicker leathers (above 2mm) might create bulk in such a small design, making the edges difficult to finish neatly. Conversely, very thin leathers (below 0.8mm) may lack the structure needed to hold cards securely. Choosing the right leather weight is just as important as getting the pattern scale correct.
Punching Details and Tool Selection
The pattern includes specific instructions for punching holes, noting a 3mm diameter. This specification is crucial for several reasons. First, 3mm is a standard size for many leatherworking awls and rotary punches. Using a tool that is too large can weaken the leather around the hole, causing it to tear under stress. Using a tool that is too small can make it difficult to insert stitching thread or hardware, potentially damaging the needle or thread during the sewing process.
Another common error is rushing the punching step. Because the pattern is printed on paper, you must transfer the hole locations accurately to the leather. Some creators attempt to guess the placement, while others try to punch through the paper directly onto the leather. While the latter can work, it risks shifting the paper and ruining the alignment. A better approach is to use an awl to poke a small pilot hole through both the paper and the leather at each marked point. Then, remove the paper and expand the holes using your 3mm punch. This ensures precision and protects your primary tool from dulling against cardboard or thick paper fibers.
Material Testing and Risk Mitigation
The note accompanying the pattern advises testing the sample on paper before using it on leather. This is perhaps the most valuable piece of advice in the entire package. Leather is unforgiving; once you cut it, you cannot uncut it. Once you punch a hole, you cannot easily patch it invisibly. By constructing a mock-up using scrap paper or cheap canvas, you can verify that all pieces fit together logically. You can check if the folding lines align, if the pockets are deep enough for your cards, and if the stitching channels are positioned correctly.
This step also helps you identify any potential issues with the pattern itself. Although the Leather Pateern Wallet DIY, Sewing PDF is designed to increase product accuracy and save time, no digital file is immune to occasional glitches. A test run allows you to catch missing pieces or confusing instructions early. For entrepreneurs and sellers, this validation step is essential to maintain quality control. Sending out a wallet with a poorly aligned pocket due to a skipped test can damage your reputation and lead to returns.
Evaluating Your Workflow Efficiency
Using a pre-made pattern like this one is primarily about efficiency. Hand-drawing patterns for every project is time-consuming and prone to human error. By using a standardized digital file, you ensure consistency across multiple units. This is particularly beneficial for small business owners who need to produce identical items. However, efficiency should not come at the cost of carelessness. Ensure that your workspace is clean and well-lit. Use sharp tracing wheels or chalk to transfer the paper pattern to the leather cleanly. Dull tools can slip, leading to inaccurate cuts that ruin the aesthetic of the final product.
Final Considerations for Success
When you decide to use the Leather Pateern Wallet DIY, Sewing PDF, remember that the digital file is only half the equation. The other half is your execution. Take the time to prepare your materials properly. Select high-quality leather that complements the design. Invest in good needles and waxed thread suitable for the leather's thickness. And most importantly, respect the instruction to test on paper first.
By avoiding the common traps of incorrect scaling, improper tool usage, and skipping the mock-up phase, you set yourself up for a successful project. The goal is not just to complete a task, but to enjoy the process and end up with a product you are proud to use or sell. With careful preparation and attention to detail, this pattern offers a straightforward path to creating a beautiful, functional leather wallet.